
As a software developer, I prefer Linux operating systems over the default Windows OS that came with my laptop, and I’ve been dual-booting Windows and the Elementary OS Linux distro for about two years now. I keep Windows for games and some other apps that are not available on Linux, but I’ve been dissatisfied with the quality of audio output on Elementary for as long as I’ve been using it. The issue has been there since Loki, and didn’t go away in Juno. I eventually got fed up and decided to do something about it, and it didn’t take me more than 10 minutes to get the audio output on my Elementary OS on par with that on my Windows OS. Here’s how I did that.

There are two things I did to improve the audio output on my Elementary OS: I increased the maximum output volume to 150%, and modified the system audio settings (this involved editing several system configuration files). The former served to enhance the audio output volume, while the latter served to enhance the audio output quality.
Enhancing Audio Output Volume
The default maximum volume level for operating systems is 100%, but you can tweak your audio settings to increase it up to 150%. Ubuntu users already have a feature for this enabled by default, which makes it surprising that Elementary, an Ubuntu-based Linux distribution, does not come with it.
You can enable this feature on Elementary Juno with the elementary-tweaks package. Follow these steps:
- Add the repository for the elementary-tweaks package to the list of your APT repos using the following command in the terminal:
sudo add-apt-repository ppa:philip.scott/elementary-tweaks
If this is the first time you’re adding a third-party repo (PPA), firstly install the software-properties-common package using the following command:sudo apt install software-properties-common - Update your package lists:
sudo apt update - Finally, install the elementary-tweaks package
sudo apt install elementary-tweaks
Now that you’ve installed the required package, simply open System Settings and select the new “Tweaks” option.
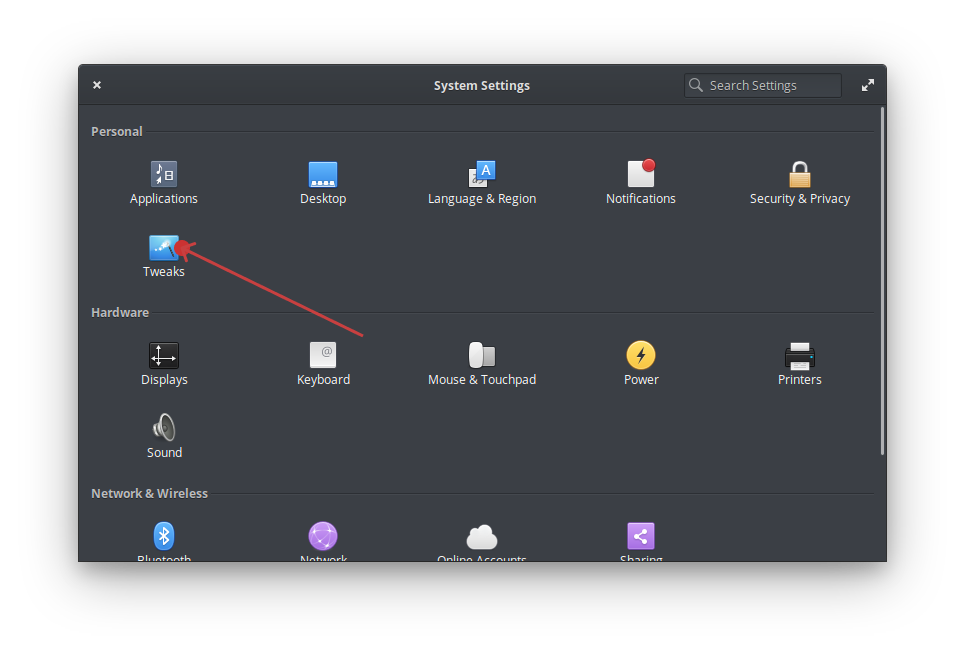
Select “Miscellaneous from the menu.
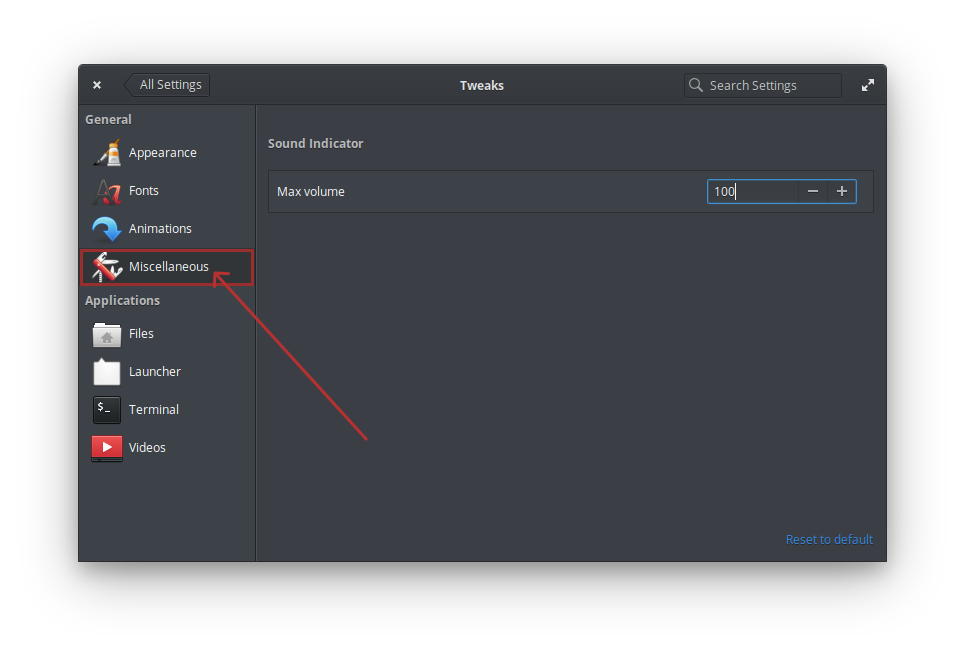
As you can see, the “Max volume” property has a value of 100. Increase it to 150 (that’s the maximum) and exit the settings app.
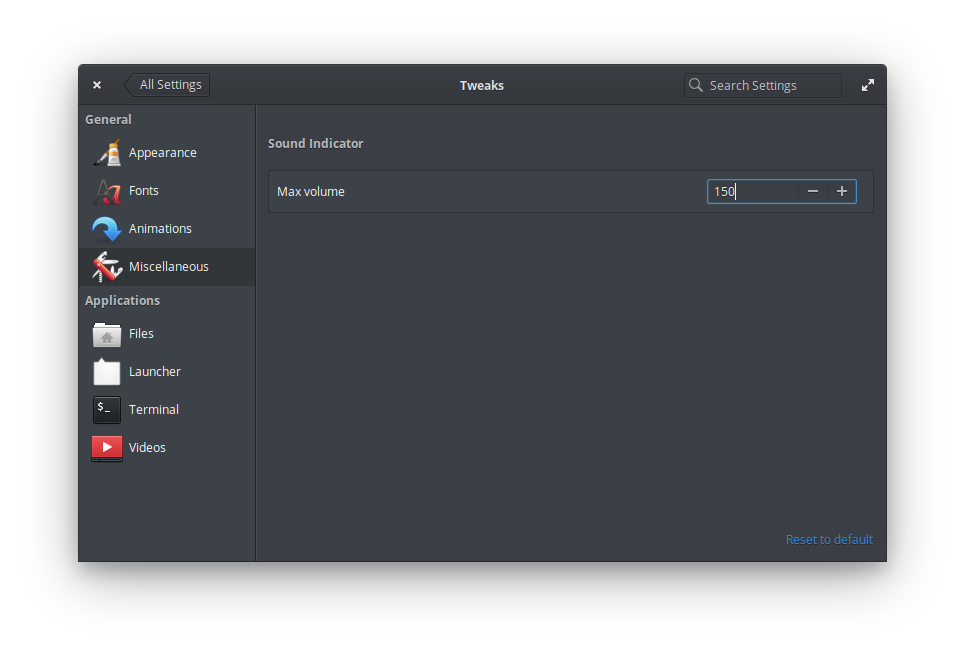
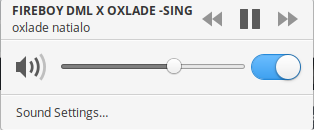
You can now get enhanced audio output volume by increasing the slider in the Panel.
Enhancing Audio Output Quality
Since Windows is the most popular OS for PCs, software drivers for hardware PC components are mostly optimized for the Windows OS, and you’ll be lucky if you get proper drivers for components that are not crucial to the functioning of other operating systems.
Unfortunately, audio components fall into this category, as your laptop can make do without them, and Linux users are forced to settle with mediocre audio output quality from their PC speakers (at least I had to, on Elementary, for years).

As I said earlier, I got fed up with the terrible audio quality and decided to do something about it. I did, it worked, and I now enjoy almost the same audio quality as I do on Windows. Here’s what I did:
Modify PulseAudio configuration file
PulseAudio is a sound system manager that runs on Linux systems, and we can control the sound it outputs by modifying the /pulse/daemon.conf file, which contains configuration settings for the sound system.
This file can exist in two locations: /etc/pulse/daemon.conf which controls the system-wide PulseAudio settings, and ~/.config/pulse/daemon.conf which controls the PulseAudio settings for the currently logged-in user. You can edit either one, depending on whom you want the changes you make to apply to. Whatever you do, make sure you backup the original file in order to be able to restore it in the event of an error; I save the original copy of every sensitive system file I modify in a backups folder in my home folder (and of course, I regularly back the folder up to the cloud).
sudo cp /etc/pulse/daemon.conf ~/backups/cp ~/.config/pulse/daemon.conf ~/backups/These are the changes I made to the daemon.conf file:
default-sample-format = float32le
default-sample-rate = 48000
alternate-sample-rate = 44100
default-sample-channels = 2
default-channel-map = front-left,front-right
default-fragments = 2
default-fragment-size-msec = 125
resample-method = soxr-vhq
enable-lfe-remixing = no
high-priority = yes
nice-level = -11
realtime-scheduling = yes
realtime-priority = 9
rlimit-rtprio = 9
daemonize = no
You can copy the text in the above block and simply paste it at the bottom of the file. After modifying the daemon.conf file and saving it, restart the PulseAudio daemon by running the following commands:
pulseaudio -k
pulseaudio -D
If you encounter any error whilst running these commands, restarting your computer instead will achieve the same effect.
Modify ALSA configuration file
ALSA is another package that controls sound on Linux systems. It also has its own configuration file that can be modified to control how it handles audio. Replace the contents of the configuration file, which can be found in /etc/asound.conf, with the following text:
# Use PulseAudio plugin hw
pcm.!default {
   type plug
   slave.pcm hw
}
Note: If the asound.conf file does not exist in the /etc/ path on your computer, create a new file with the same name at that location and copy the above text into it.
To understand the details of the modifications to these two configuration files, check out this post.

Now all that’s left is for you to reboot your computer, and hopefully, the audio output on your Elementary OS 5 Juno would be much better than it has previously been.
I tried these configs for pulseaudio and increased my audio quality a lot! thanks for this!
Hi Eduardo,
I’m glad this helped you! I was this elated too when I discovered the tweak, and was more than happy to share it rightaway on this blog.
After installing the elementary-tweaks, I changed to 150 in the settings. But still I dont see 150 in audio settings.